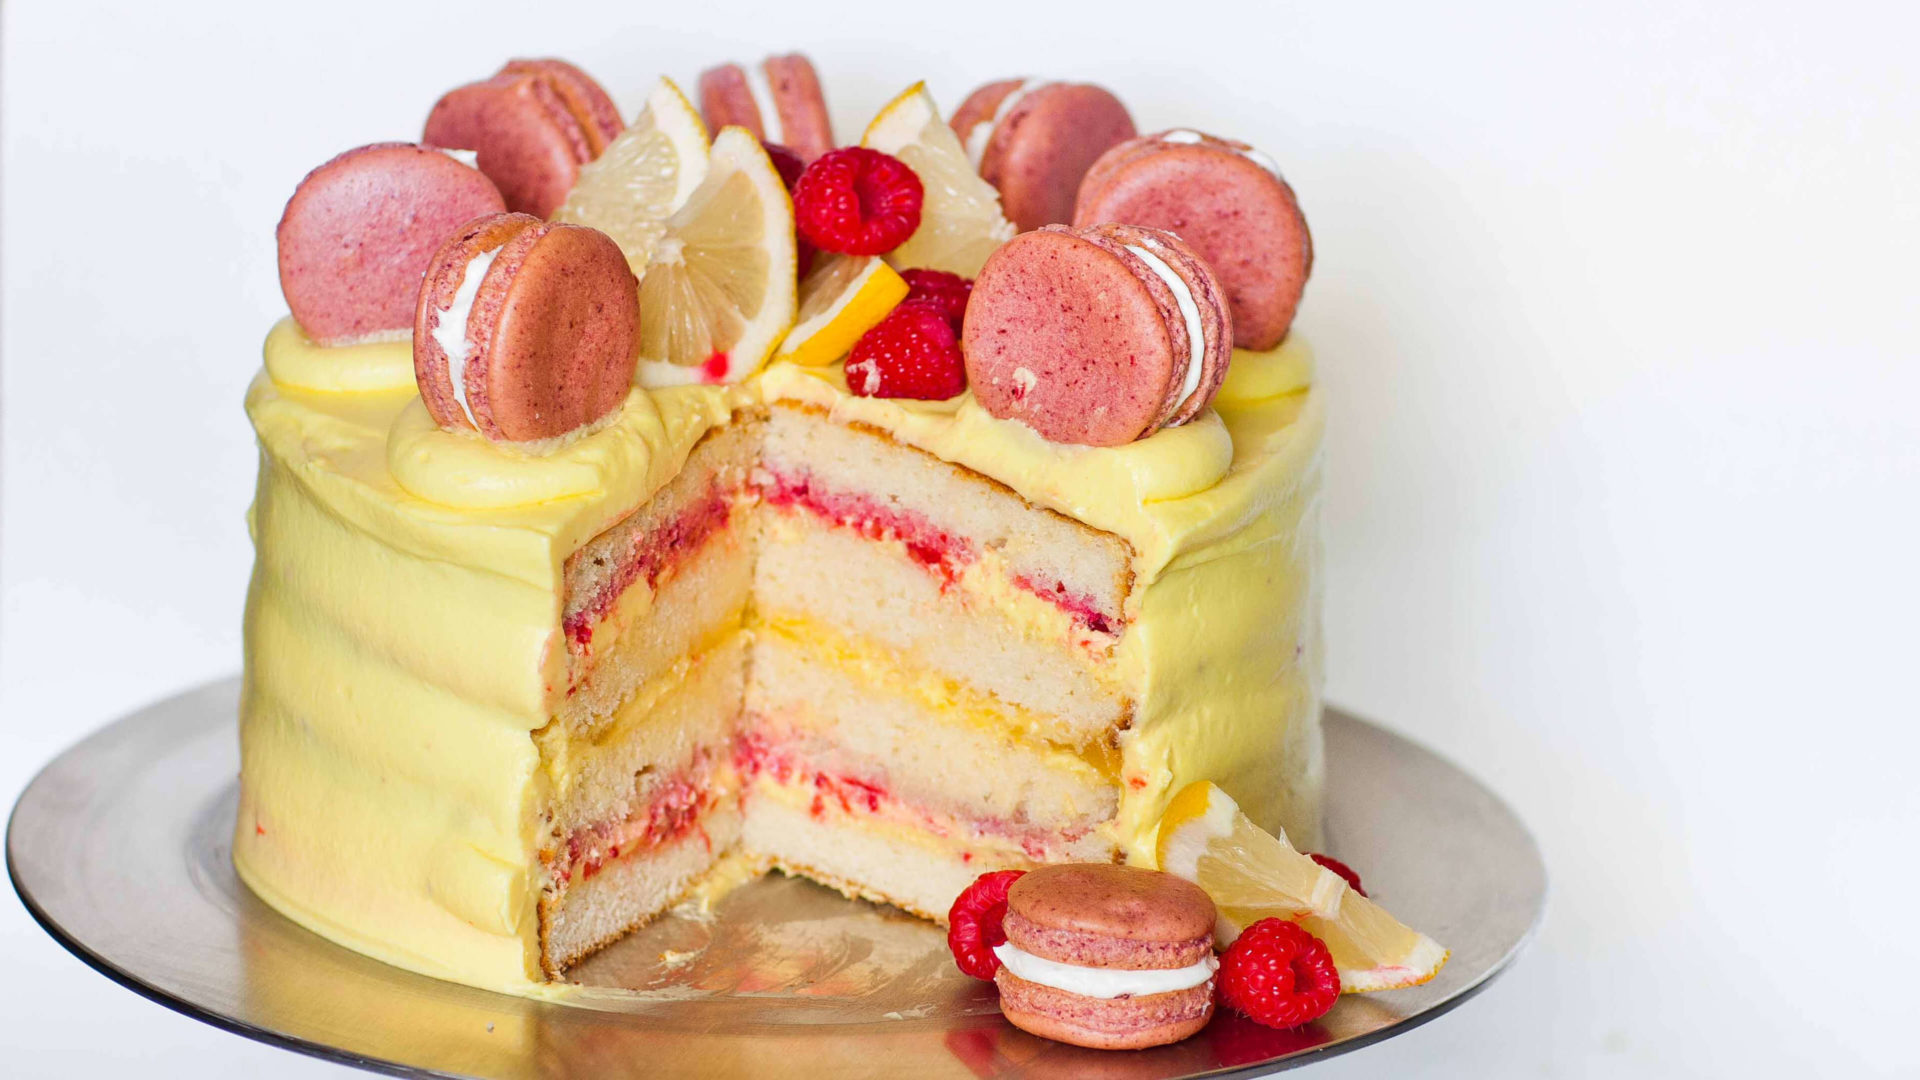
Learn how to make a raspberry lemonade cake. This raspberry cake is packed full of lemon flavor with cream butter. I hope you’ll enjoy this creamy lemonade cake recipe.

Raspberry Lemonade Cake
Print ThisIngredients
- Raspberry frosting:
- 1 cup freeze dried raspberries, crushed
- 1 batch Swiss meringue buttercream frosting
- Ombre Frosting:
- 1 tablespoon lemon flavoring
- 2 batches Swiss meringue buttercream
- Egg yolk yellow frosting: 6 drops yellow food gel and 3 drops orange food gel
- Orange frosting: 6 drops yellow food gel and 10 drops orange food gel
- Peach frosting: 6 drops orange food gel and 4 drops pink food gel
- Pink frosting: 6 drops pink food gel
- Yellow frosting: 6 drops yellow food gel
- Decorations:
- 6 lemon slices
- 6 mint leaves
- 6 raspberries
- Cake:
- 1 tablespoon vanilla extract
- 1 tablespoon vanilla extract
- 2 tablespoon greek yogurt
- 1/2 teaspoon salt
- 2 large eggs
- 3 teaspoon baking powder
- 3 drops orange food gel
- 5 drops yellow food gel
- 125g unsalted butter, softened
- 125ml vegetable oil
- 265g caster sugar, superfine
- 375ml of milk
- 429g all-purpose flour
- Zest of 2 lemons
- Juice of lemons
Instructions
Raspberry frosting:
1. To make a raspberry glaze, add a freeze-dried raspberry glaze and mix until well combined.
Ombre Frosting:
2. Set aside 2 cups of vanilla cream on one side. Divide the remaining glaze into 5 different bowls and mix each color using the color formulations in the ingredient list.
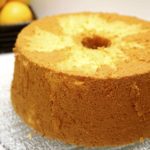
Cake:
3. Keep in mind: to make the 6-layer cake in this recipe, you must make 2 batches of vanilla cake. All other recipes and measures are sufficient to assemble the cake and decorate it.
4. Preheat a forced fan oven to 140C (280F) or 160C (320F) for a conventional oven. Spray three 8 “cake cans with cooking spray and cover the bottom with baking paper.
5. Add the flour, sugar, lemon zest, baking powder and salt to a large bowl and mix using a hand mixer until well blended.
6. Next, add the softened butter and mix at low speed until the mixture reaches a crumbly sand texture.
7. Add eggs, milk, lemon juice, oil, Greek yogurt, yellow food gel, orange food gel and vanilla extract. Mix at low speed until no dry ingredients are shown. Scrape the bowl and mix for another 20 seconds. It is at this point that you can add additional flavorings or colored gels to the mix.
8. Fill three 8 “cake cans with the mixture. I think using a spoonful of ice cream to help me do this facilitates the even distribution of the dough so that everything is baked at the same time.
9. Bake for 50-60 minutes or until a toothpick comes out clean. If the selection comes out with the moist mixture, bake for 10 more minutes at a time until it is fully cooked. Allow the cakes to cool to room temperature inside the cake pans and then chill them in the refrigerator overnight. Cooling your cakes during the night makes them easier to cut out and decorate. So I bake my cakes the day before decorating them.
10. To trim your refrigerated cakes, use a cake leveler or large serrated knife to carefully cut the crust from the top of each cake before cutting each cake in half. You will finish with 6 layers of cake.
11. To cover your cake with crumbs, add a little raspberry frosting on an 8 “pie board or on a flat serving plate, use a small spatula to separate the frosting before adding the first layer of cake. Gently lower the center of the cake layer to make sure it is glued to the glaze below.
12. Add frosting to a pipe bag and a frost ring around the top of the cake. Fill the center with more frosting. Use your small spatula to soften the glaze before adding the next layer of cake. Repeat with the remaining layers.
13. Add more frosting around and the top and sides of the cake. Use the small spatula to soften the top and sides of the cake, taking care to fill in the spaces between each cake layer.
14. Use a cake scraper (also known as a bench scraper) to soften the frosting on the sides and top. Get it as clean as you can. This should simply be a thin and thin layer of frosting that aims to catch the crumbs of the cake so that the random pieces of cake crumbs do not appear in the final layer of the frosting. Cool for 2 hours or overnight.
15. Add each colored ombre glaze to a large pipe bag and freeze around the cake starting with the pink frosting at the bottom, followed by the peach, orange, egg yolk and yellow frosting at the top. Add more yellow frosting on top of the cake. Use a small spatula to spread the frosting on top of the cake.
16. Use a cake scraper to wrap the cake until it is smooth. Be sure to scrape off the excess frosting from the cake scraper each time you go around the cake to keep the colors nice and tidy.
17. Use the cake scraper to flatten the top.
18. Add lyophilized raspberries to the bottom of the cake.
19. Place the end of a pipe bag with the tip of a Wilton 6b pipe and the frost 6 swirls around the top of the cake.
20. Add 1 fresh raspberry on top of each whirlpool and insert a slice of lemon on the side of each whirlpool. Add a mint leaf next to each raspberry. Finish with a few straws in each swirl to make it look like it’s ripe for summer!